- a single web page template is used to create a single page of content on the website
- this template is suitable for pages that aren’t likely to grow significantly
- if need more than one page to be grouped together, see creating a multi web page
- this is the name you give to your page
- it will appear at the top of the page when published on the website
- it will also inform the URL which is automatically generated when your page is saved
Read about page title standards

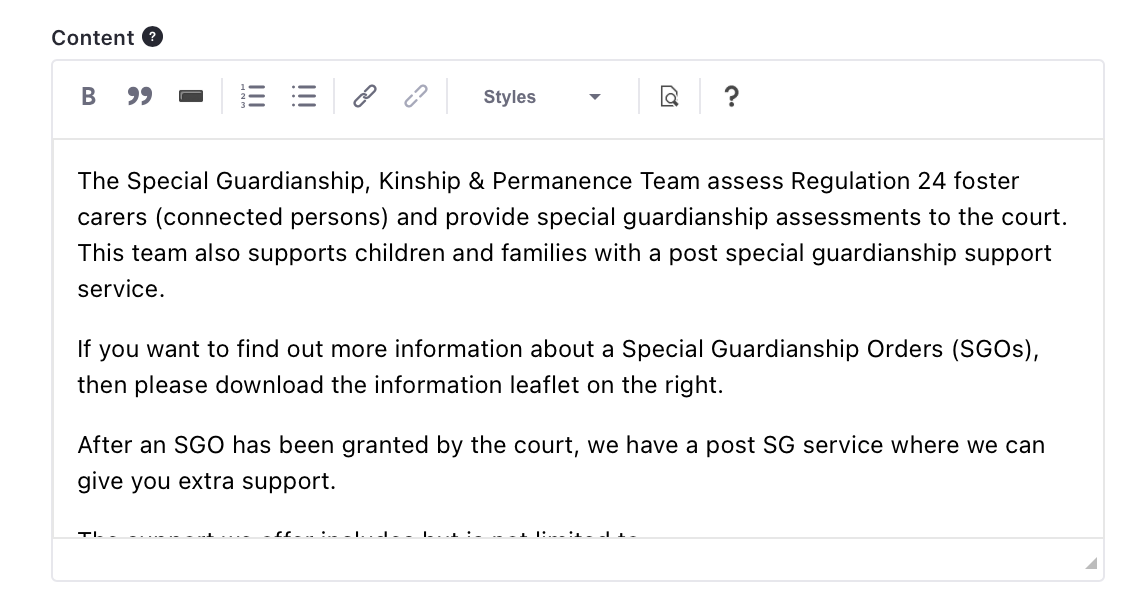
The content editor bar is above the main body content field.
Features includes:
Bold
An accessible version of the standard bold text feature
Block quote
This will italicise and indent a section of text and is best used in press releases and news items or to wrap around a quote or statement
Button
Use this on your page where the user can perform an action
Bullet points and numbered list
Use these to break up chunks of text
In-text link creator
Create descriptive links, link to internal or external page or a download
Headings
read more about using headings correctly
Page preview
For a quick look at how your content looks before you submit it for publication
Help
Useful links for web author support

- type or paste in your page content to this section
- be aware when pasting in content, all formatting will be removed

All images that convey information need alternative text (known as image description in Placecube) or an on page description.
Adding an image
- click the select button underneath the image field
- find an image you have previously uploaded in Placecube or upload a new image
Adding alternative text (alt-text)
To add the alt-text, complete the field ‘Image Description’.

Tips for writing alt-text
- the ‘Image Description’ should be as descriptive as possible and state what the image shows
- this should be kept short at 125 characters or less.
Properties panel
There are a number of fields in the properties panel to be aware of, some are mandatory.
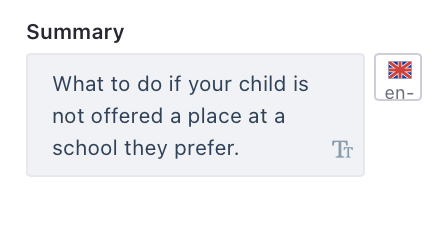
There are two places to add a summary. The field under the title and in the properties bar You should populate both fields.
- the summary will help the user to understand what your page is about
- write it in just one or two short sentences
- the summary will display on landing pages and in Google search results

- this is a mandatory field for choosing where your page is going to display on the website
- It will help to familiarise yourself with the different landing pages for your service before you choose

In this section you can add tags to your page, such as the ‘popular’ tag if you want this page to display in the ‘popular items’ banner on a landing page.
Read more about the popular items banner and tagging pages

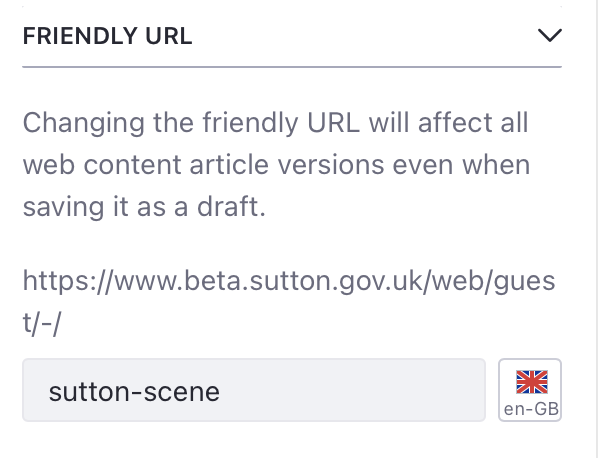
- the URL for your page will automatically generate when your page is published
- it will generate based upon the title you have given your page ie. /apply-for-a-license
- please do not change the URL once it has been generated
- if the URL does need to be changed, please create a redirect so there are no broken links going to the old URL

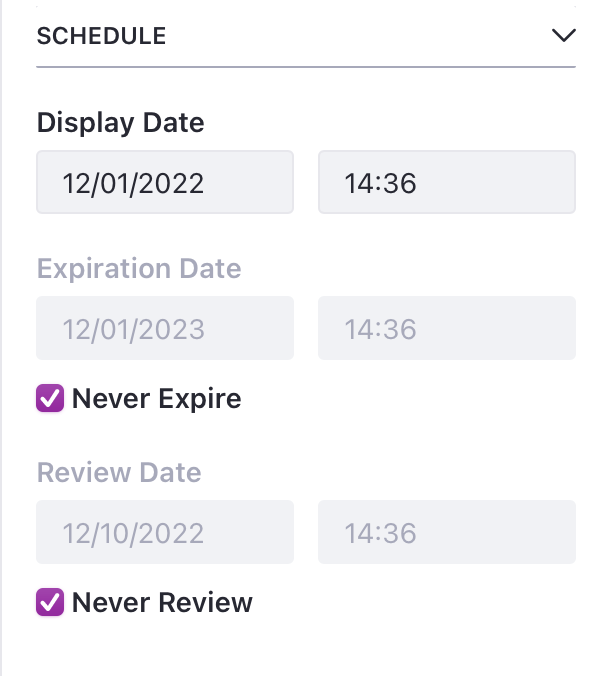
This feature allows you to:
- choose a publishing date and time for your page
- expire you page permanently or temporarily take it offline
- set a review reminder for your page

- by adding a priority number to your page, it will set the order that content appears on a landing page.
- the higher the number you give your page, the earlier it will display
- so if you have 3 items on a landing page, the one with a priority of 3 will appear before one with a priority of 1

Click publish when you are done
This will send your page off to the Web Admin team to review

If you're not ready to submit you page, click save

Read about the approval process